01
Start a new event
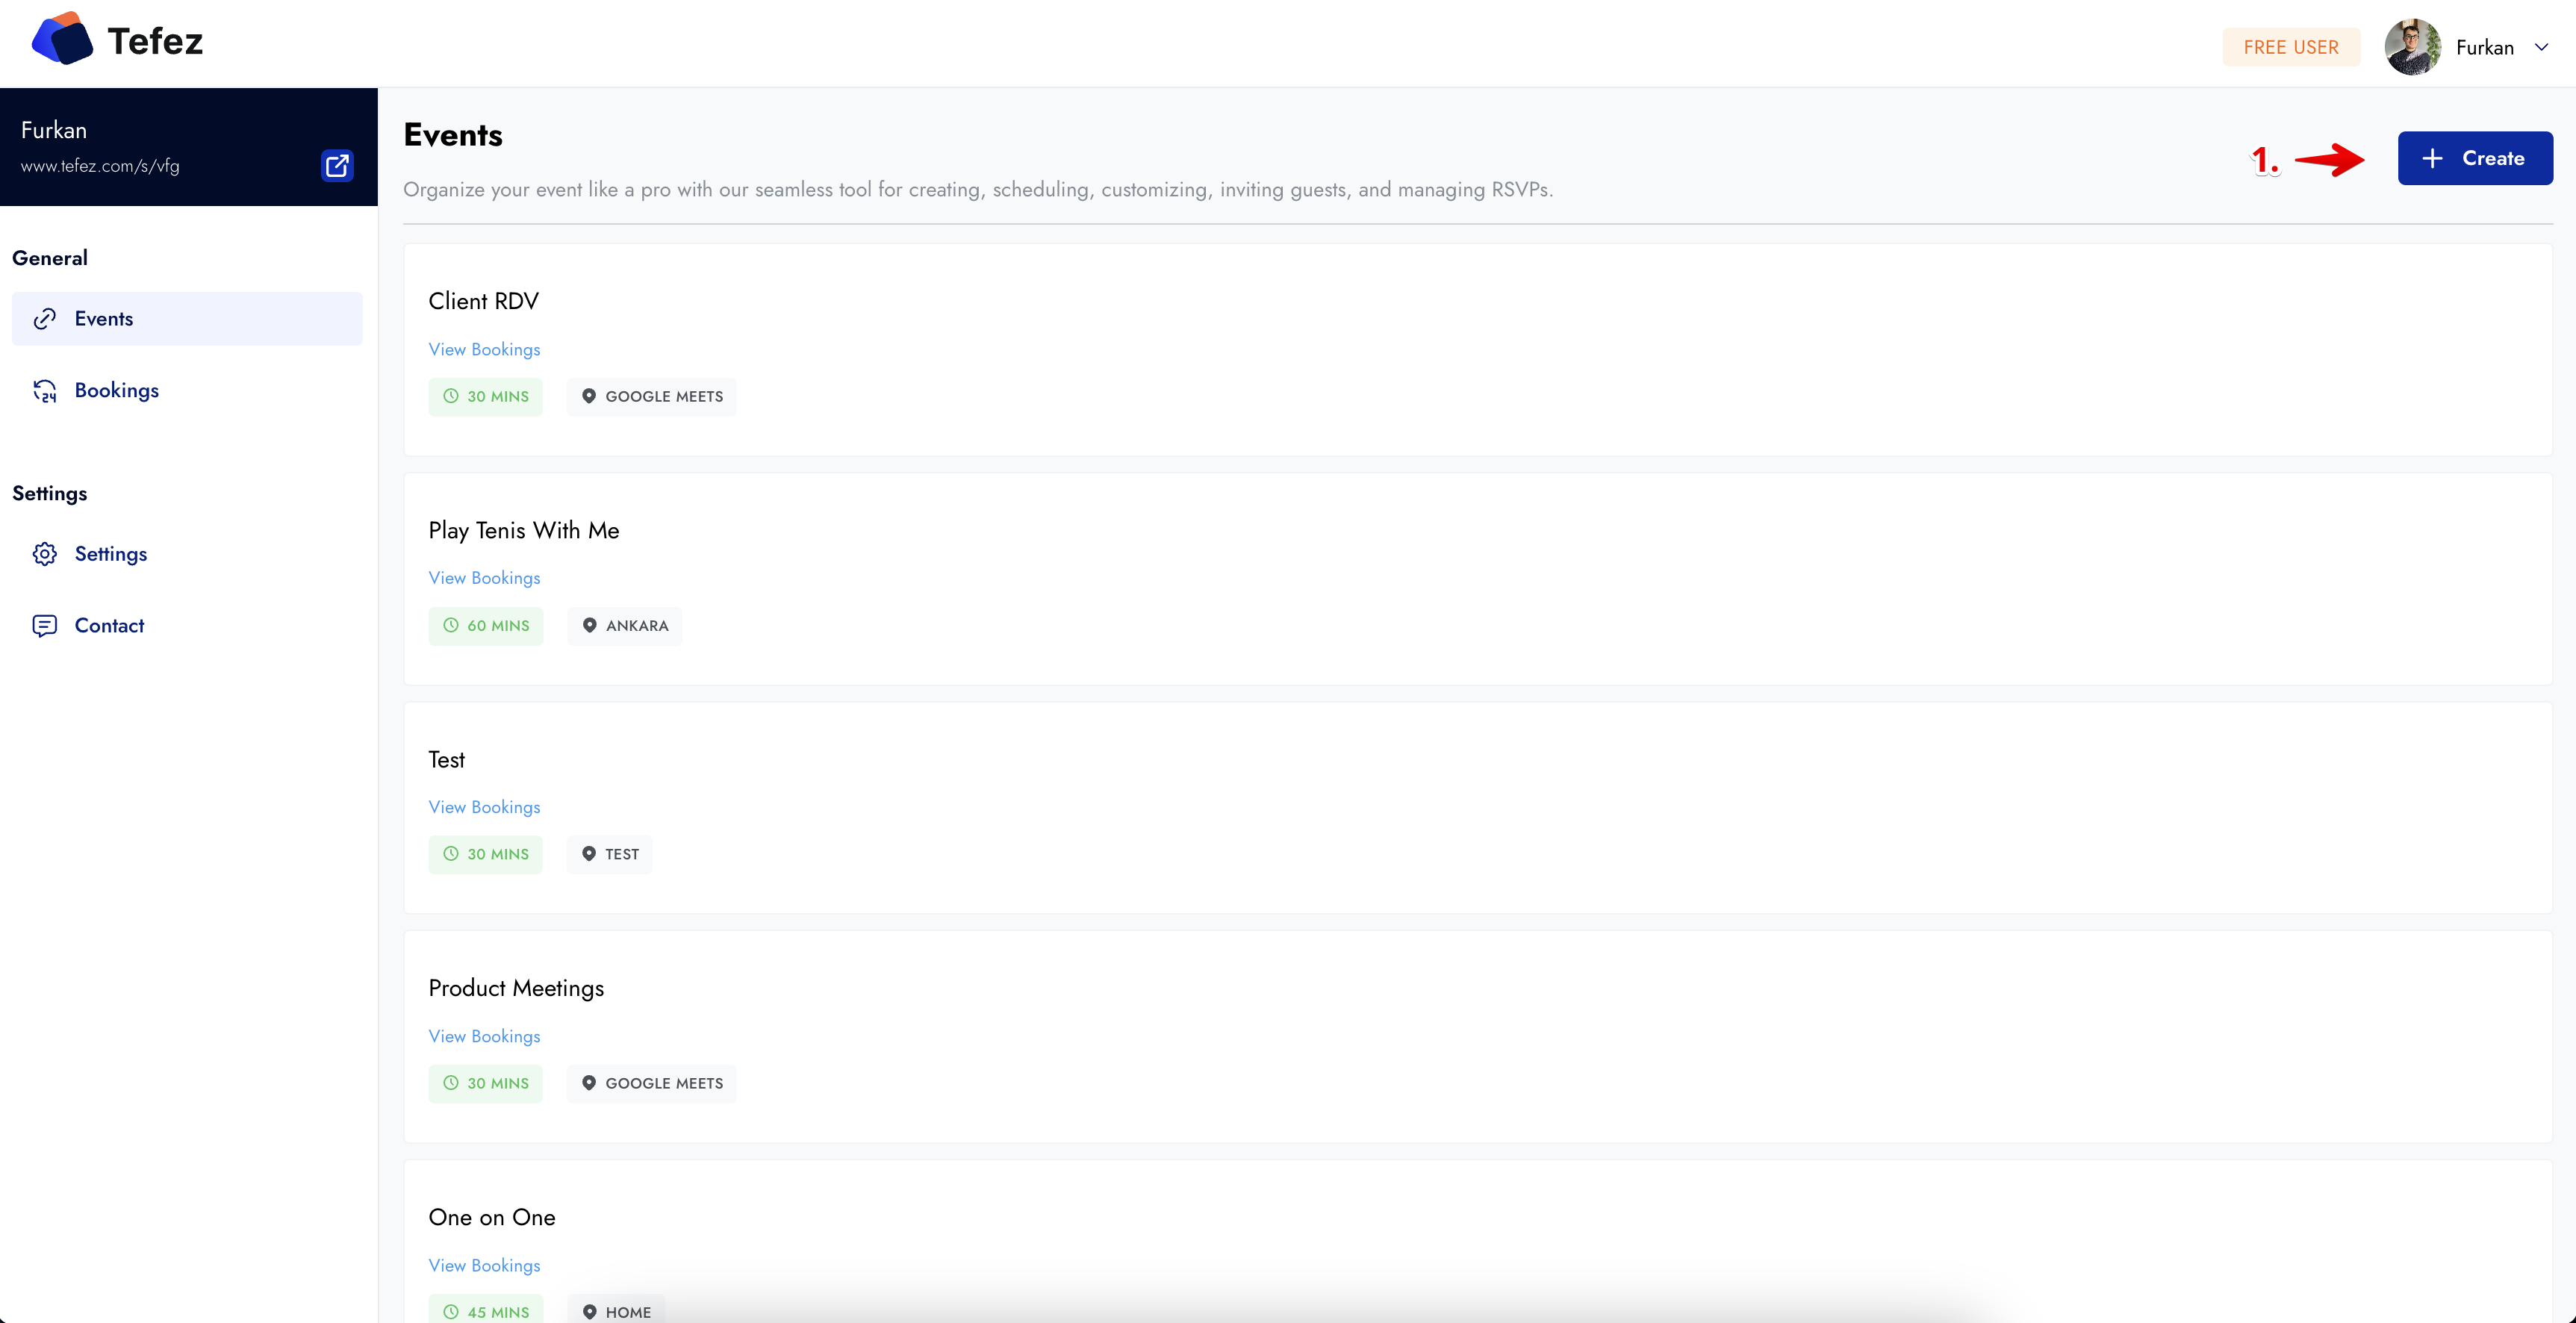
Open Events in the scheduling dashboard and select Create. Existing events remain available while you build the new one.
Getting started guide
A practical walkthrough from an empty event to a booking link you can test and share.
Before you start
You need a Tefez account. Have the appointment duration, location, and the hours you genuinely want to offer ready before you begin.
Open Events in the scheduling dashboard and select Create. Existing events remain available while you build the new one.
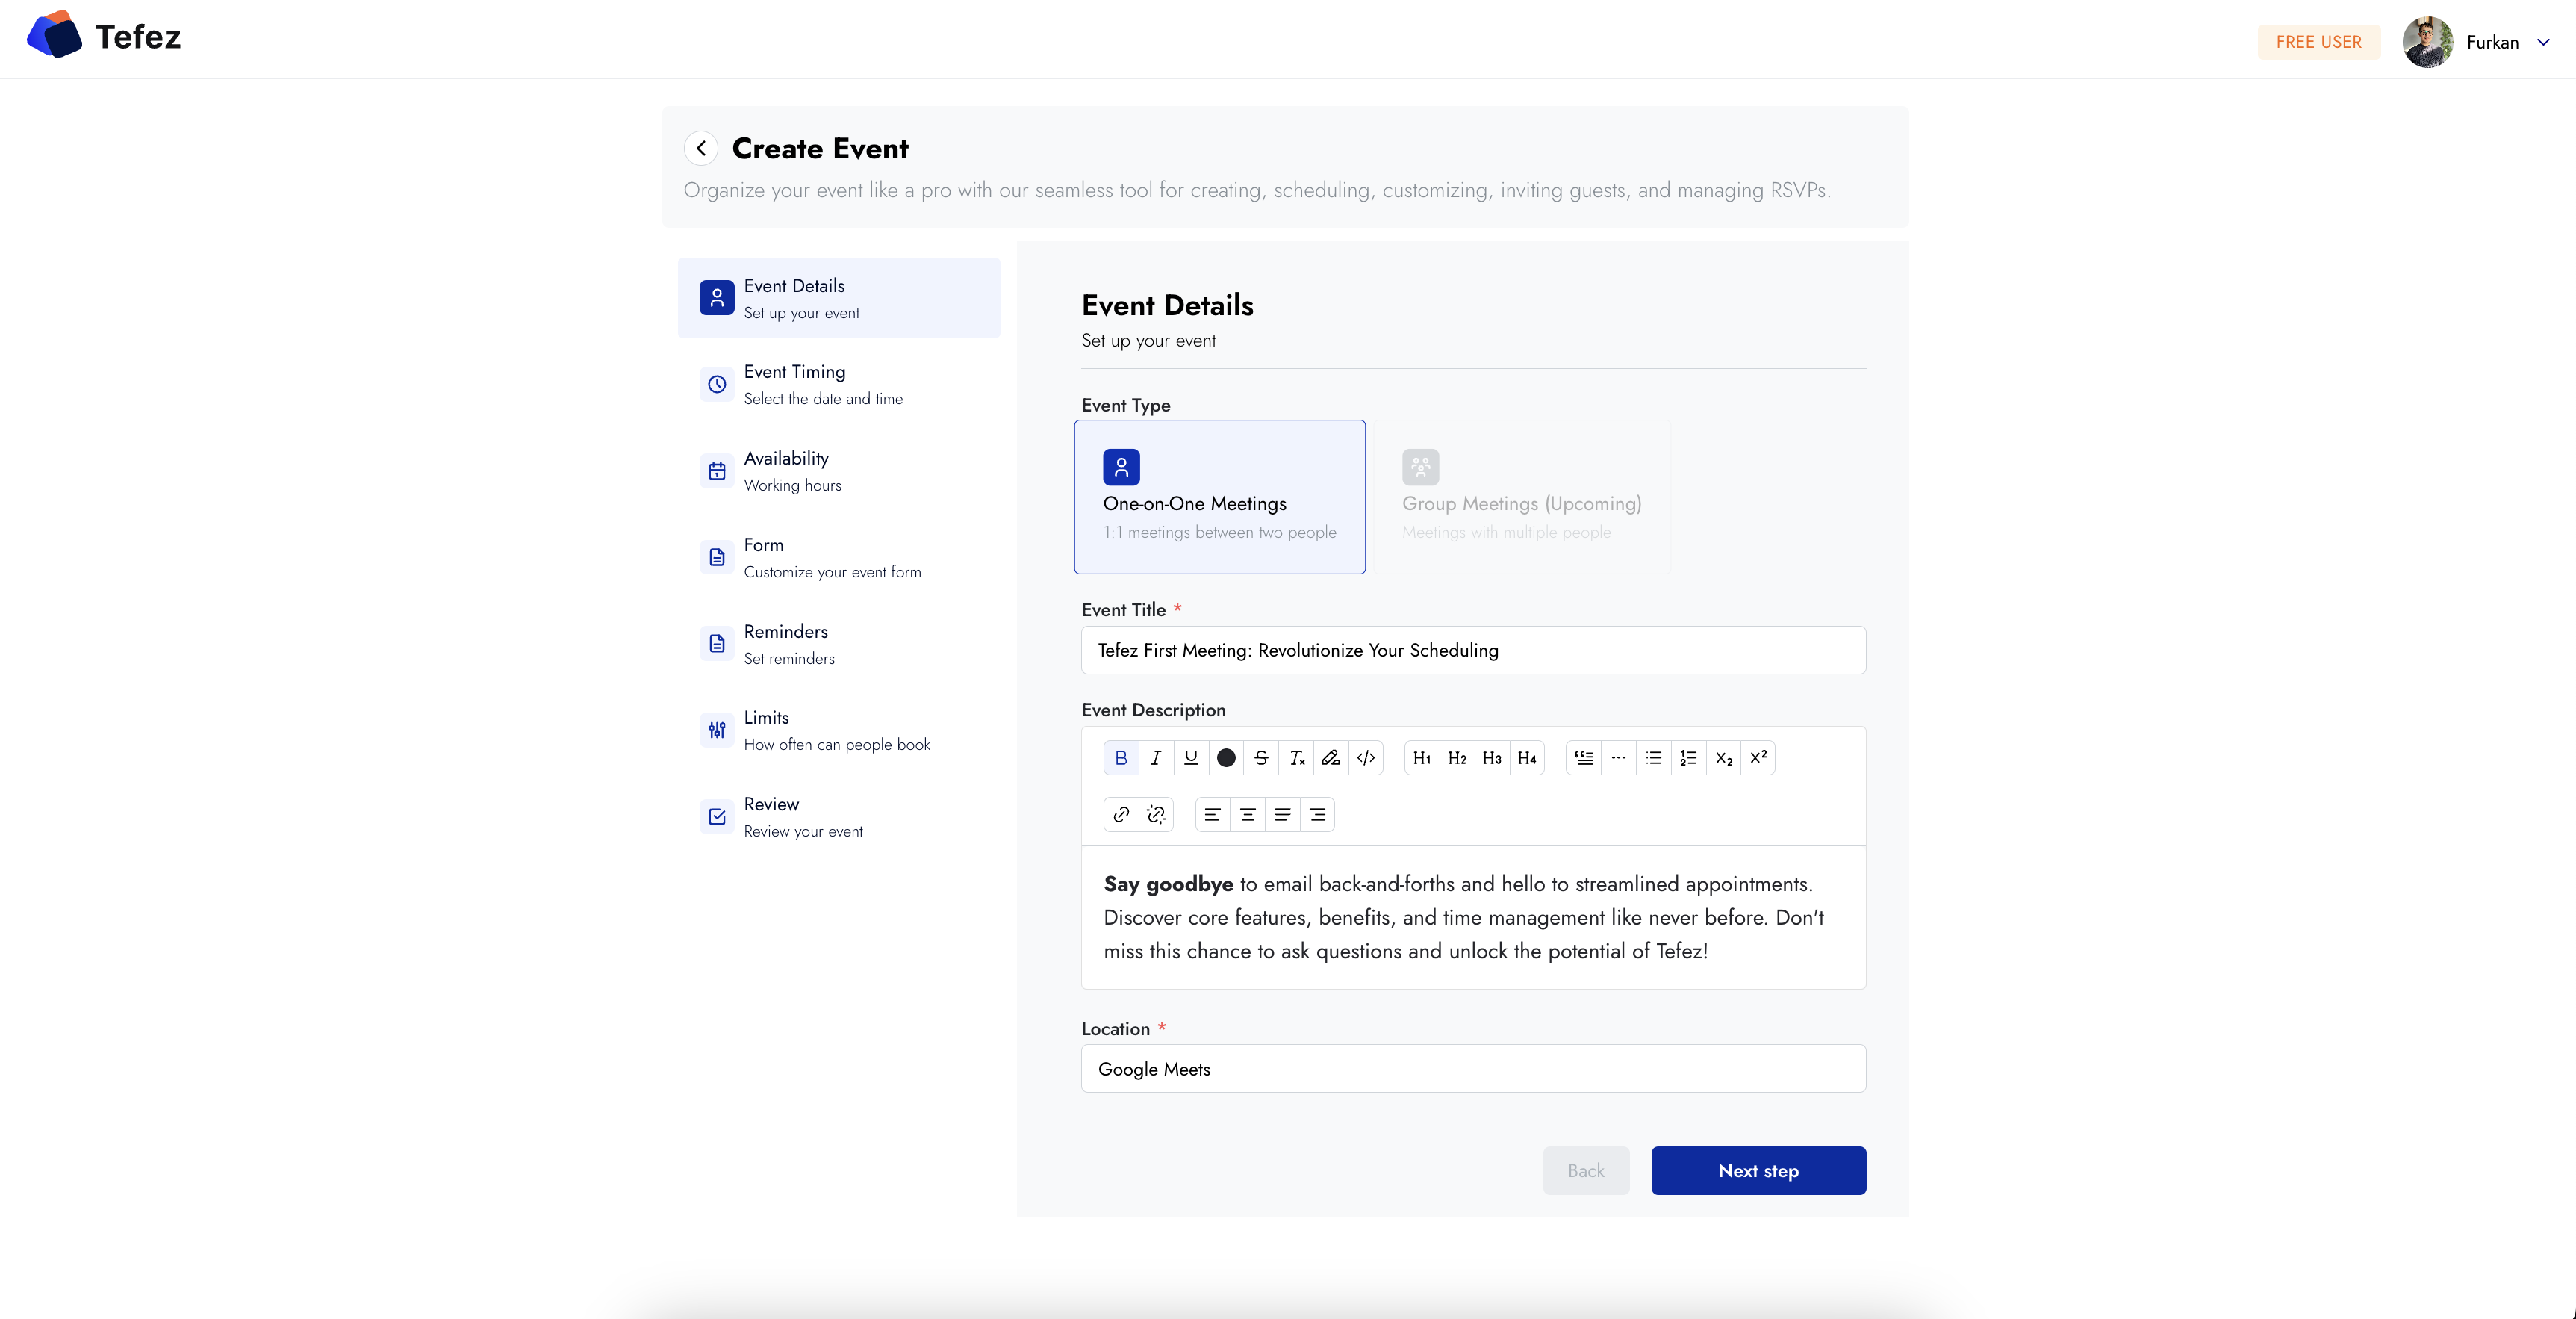
Add a specific title, plain-language description, and meeting location. Tell invitees what the appointment is for and what they should expect.
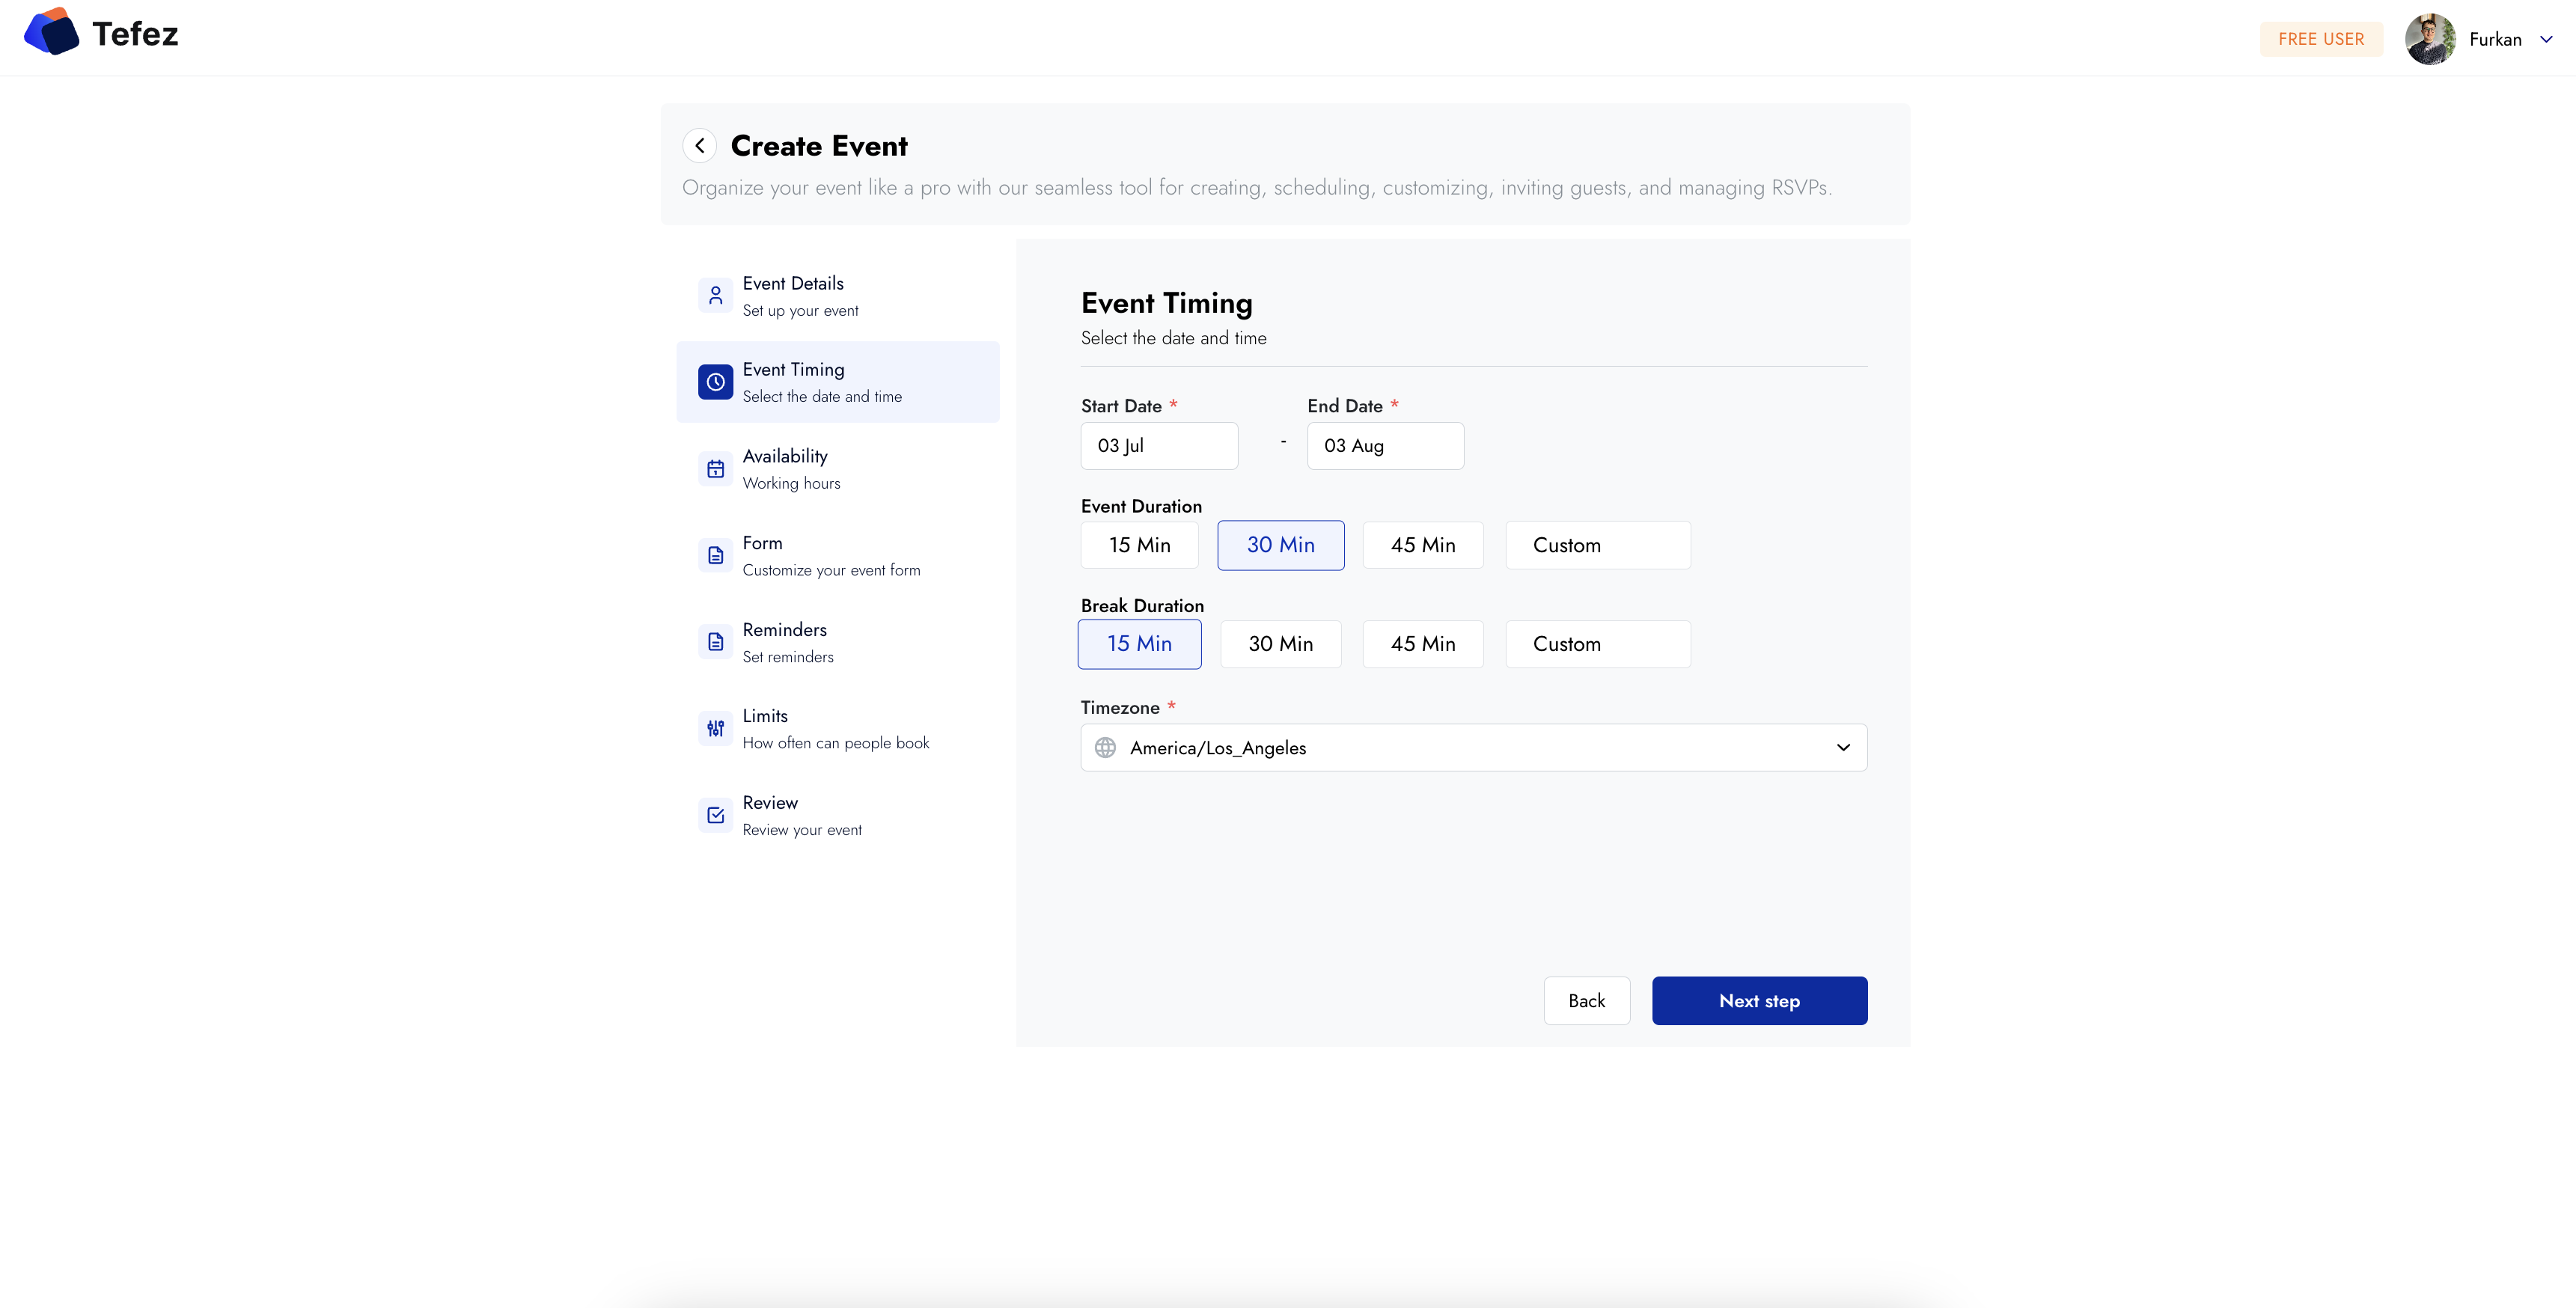
Set the appointment duration and the date range in which the event should be bookable. Avoid offering a longer range than you can maintain.
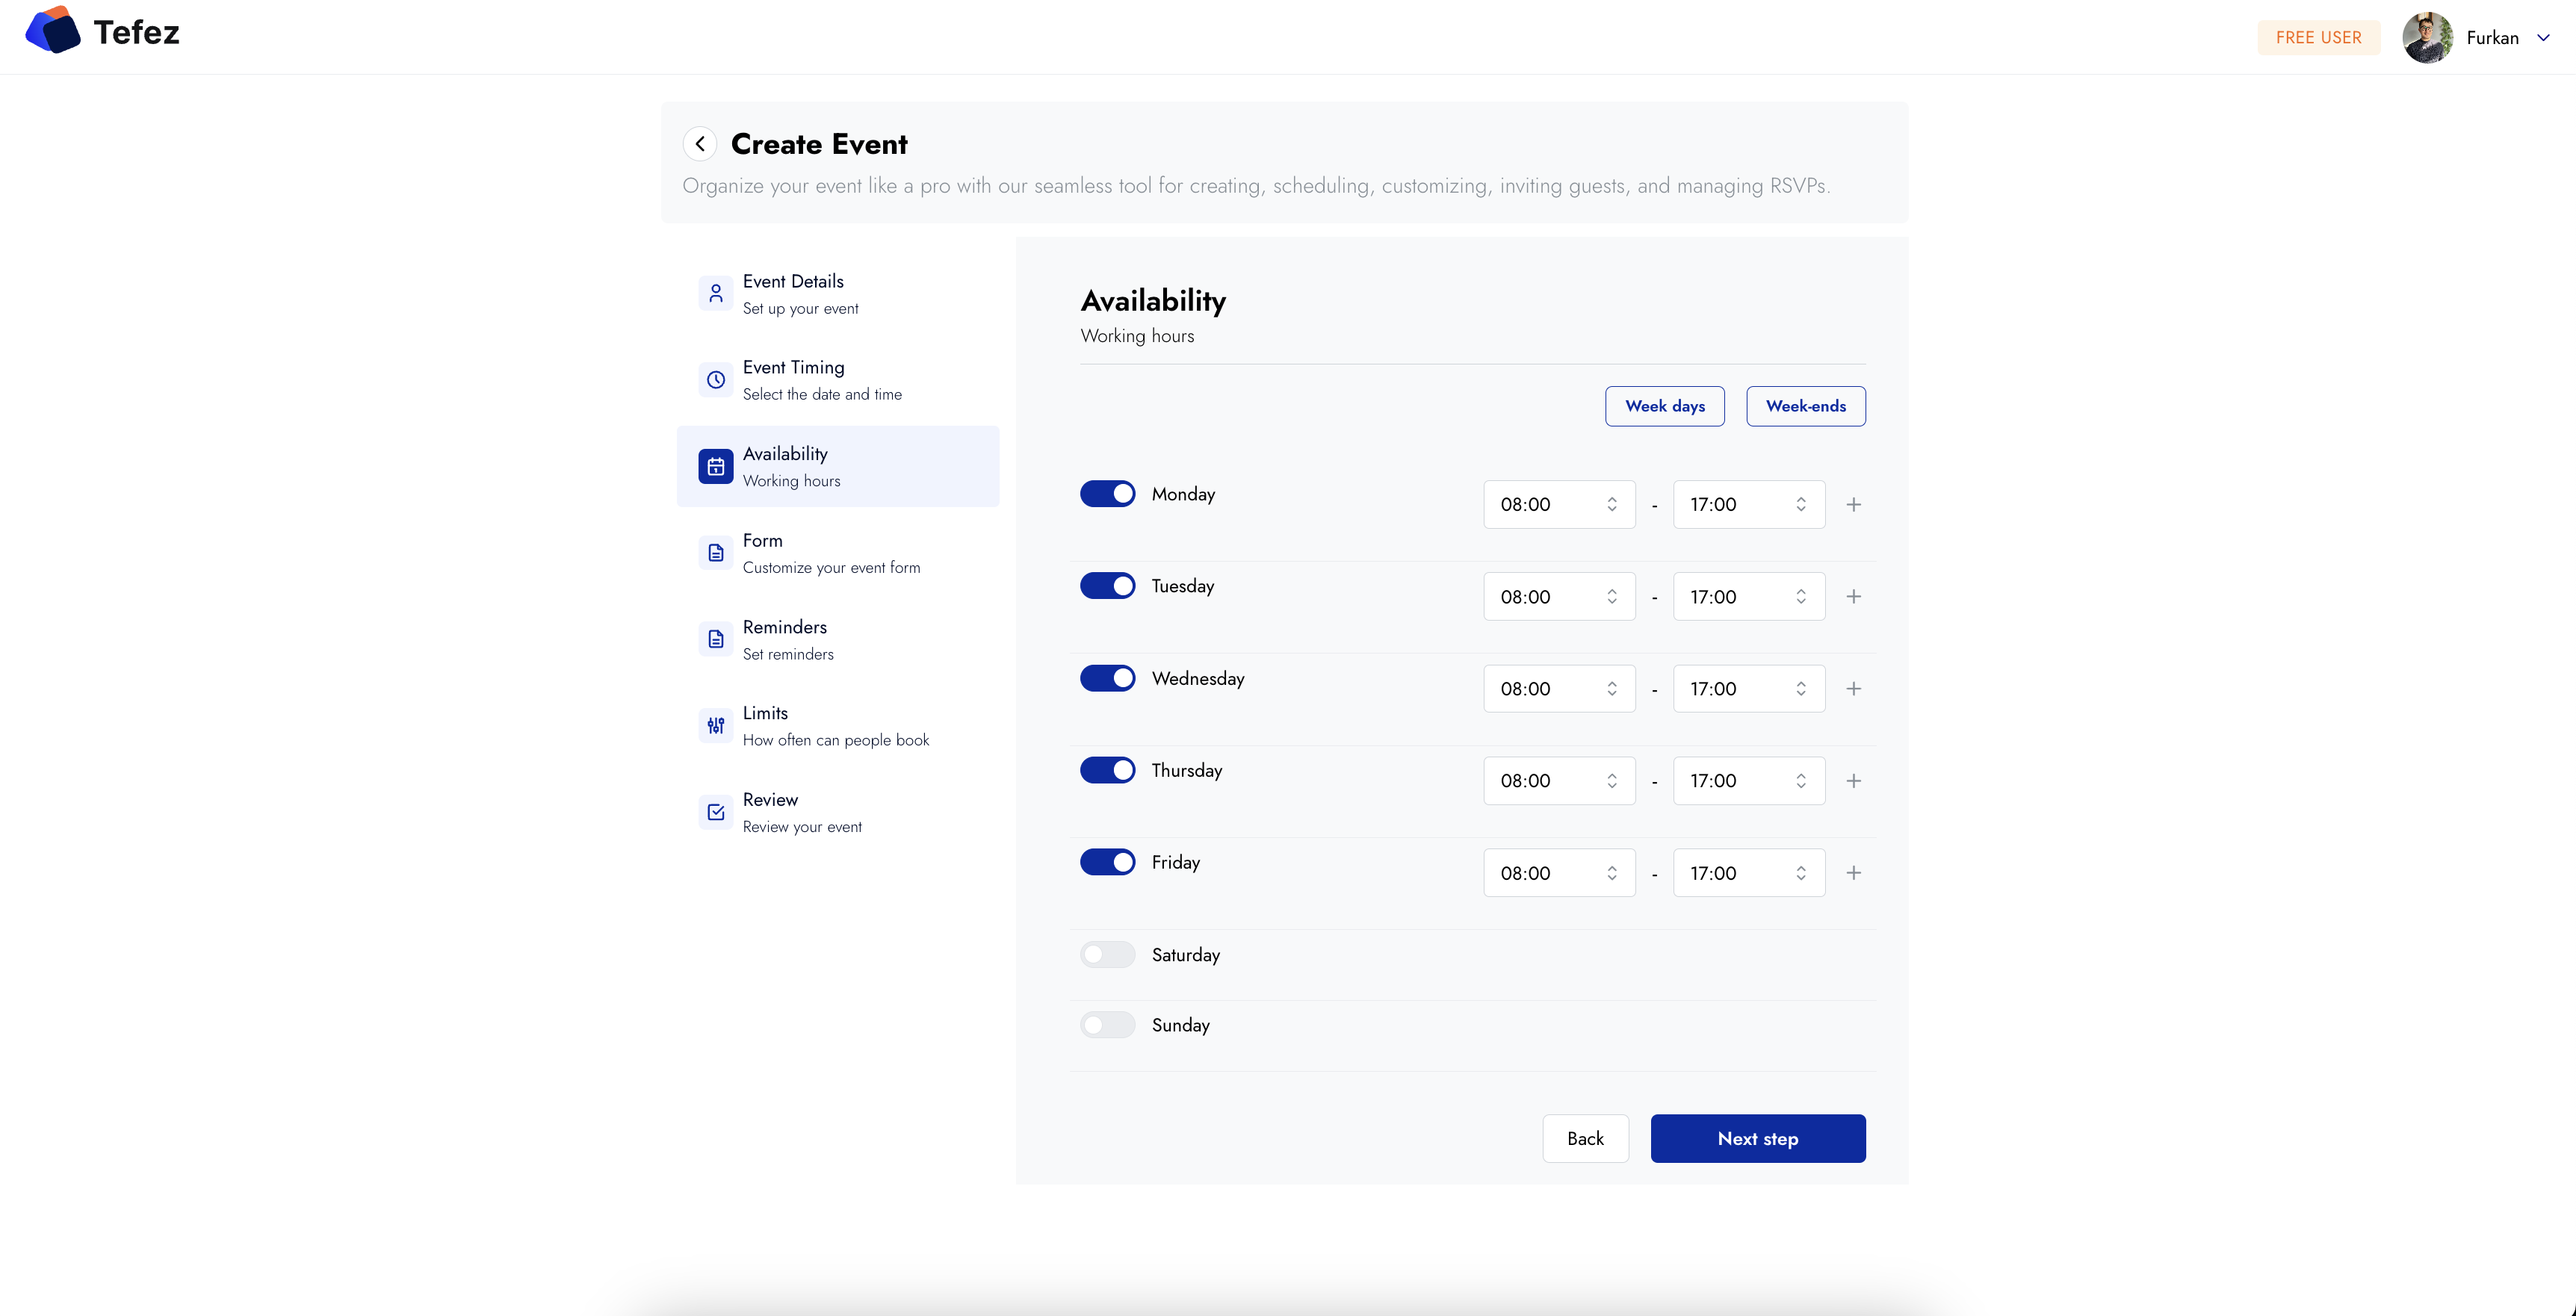
Turn on the days you accept appointments and set the start and end time for each day. Add another time range when your day is split.
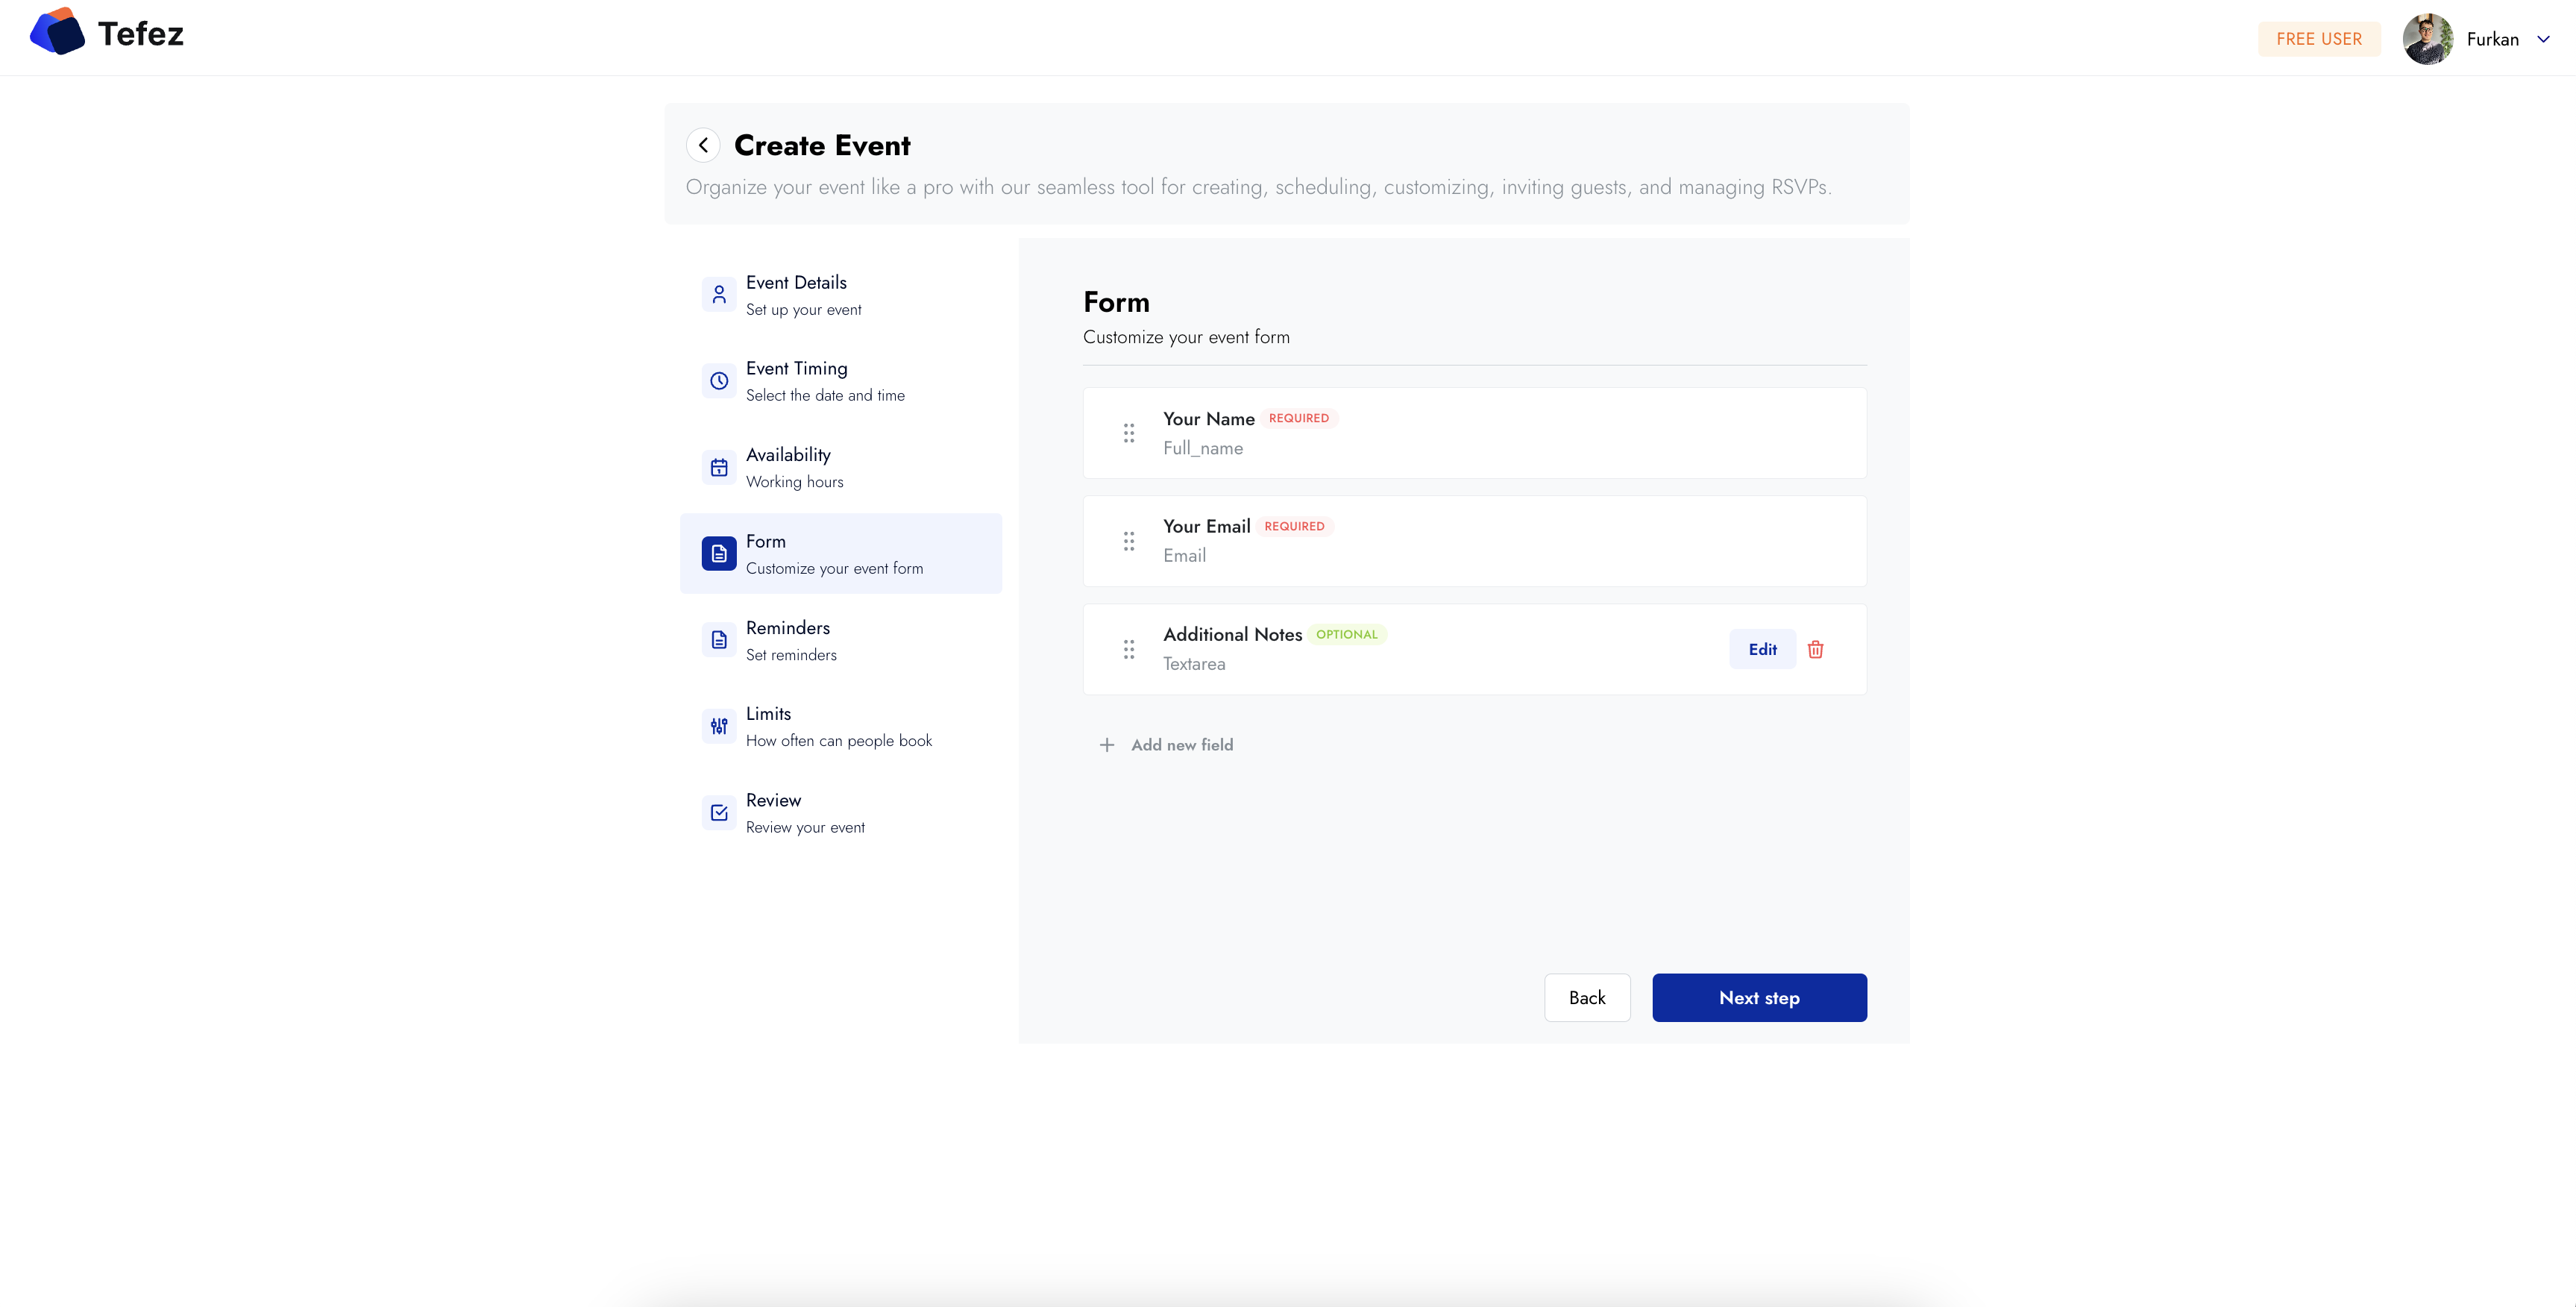
Keep name and email, then add the minimum context needed to prepare. Every extra required field creates more work for the invitee.
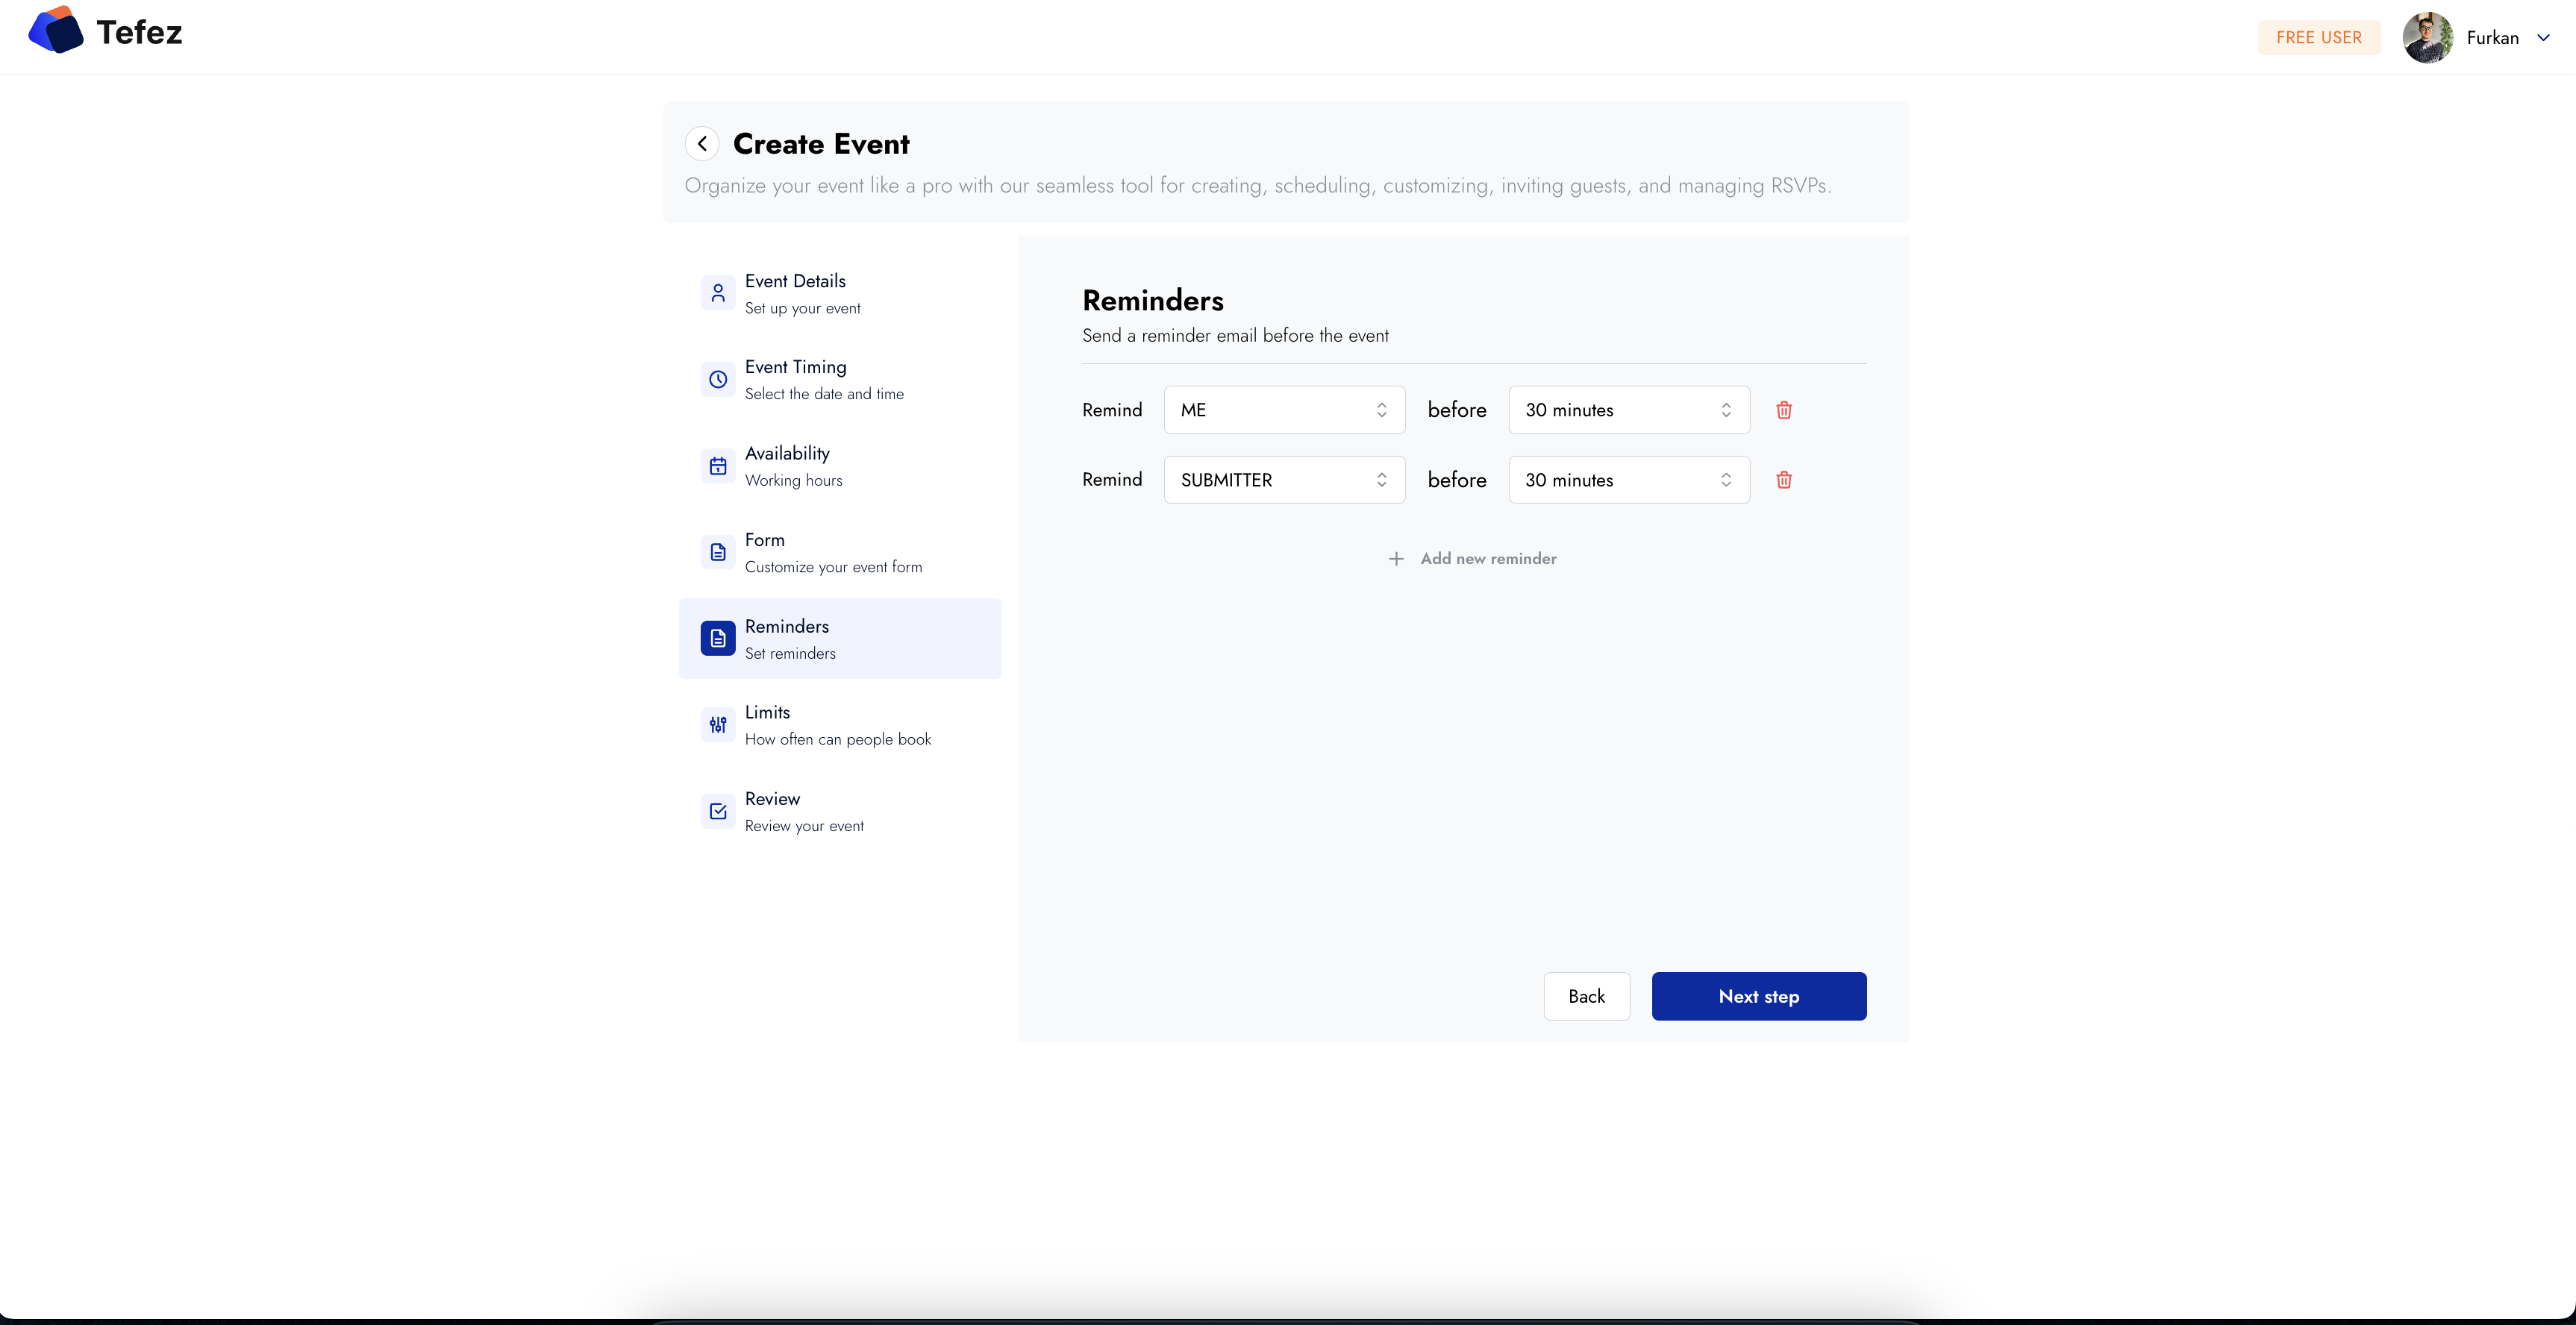
Choose when Tefez should remind the invitee before the appointment. Use a timing that is helpful without creating unnecessary email.
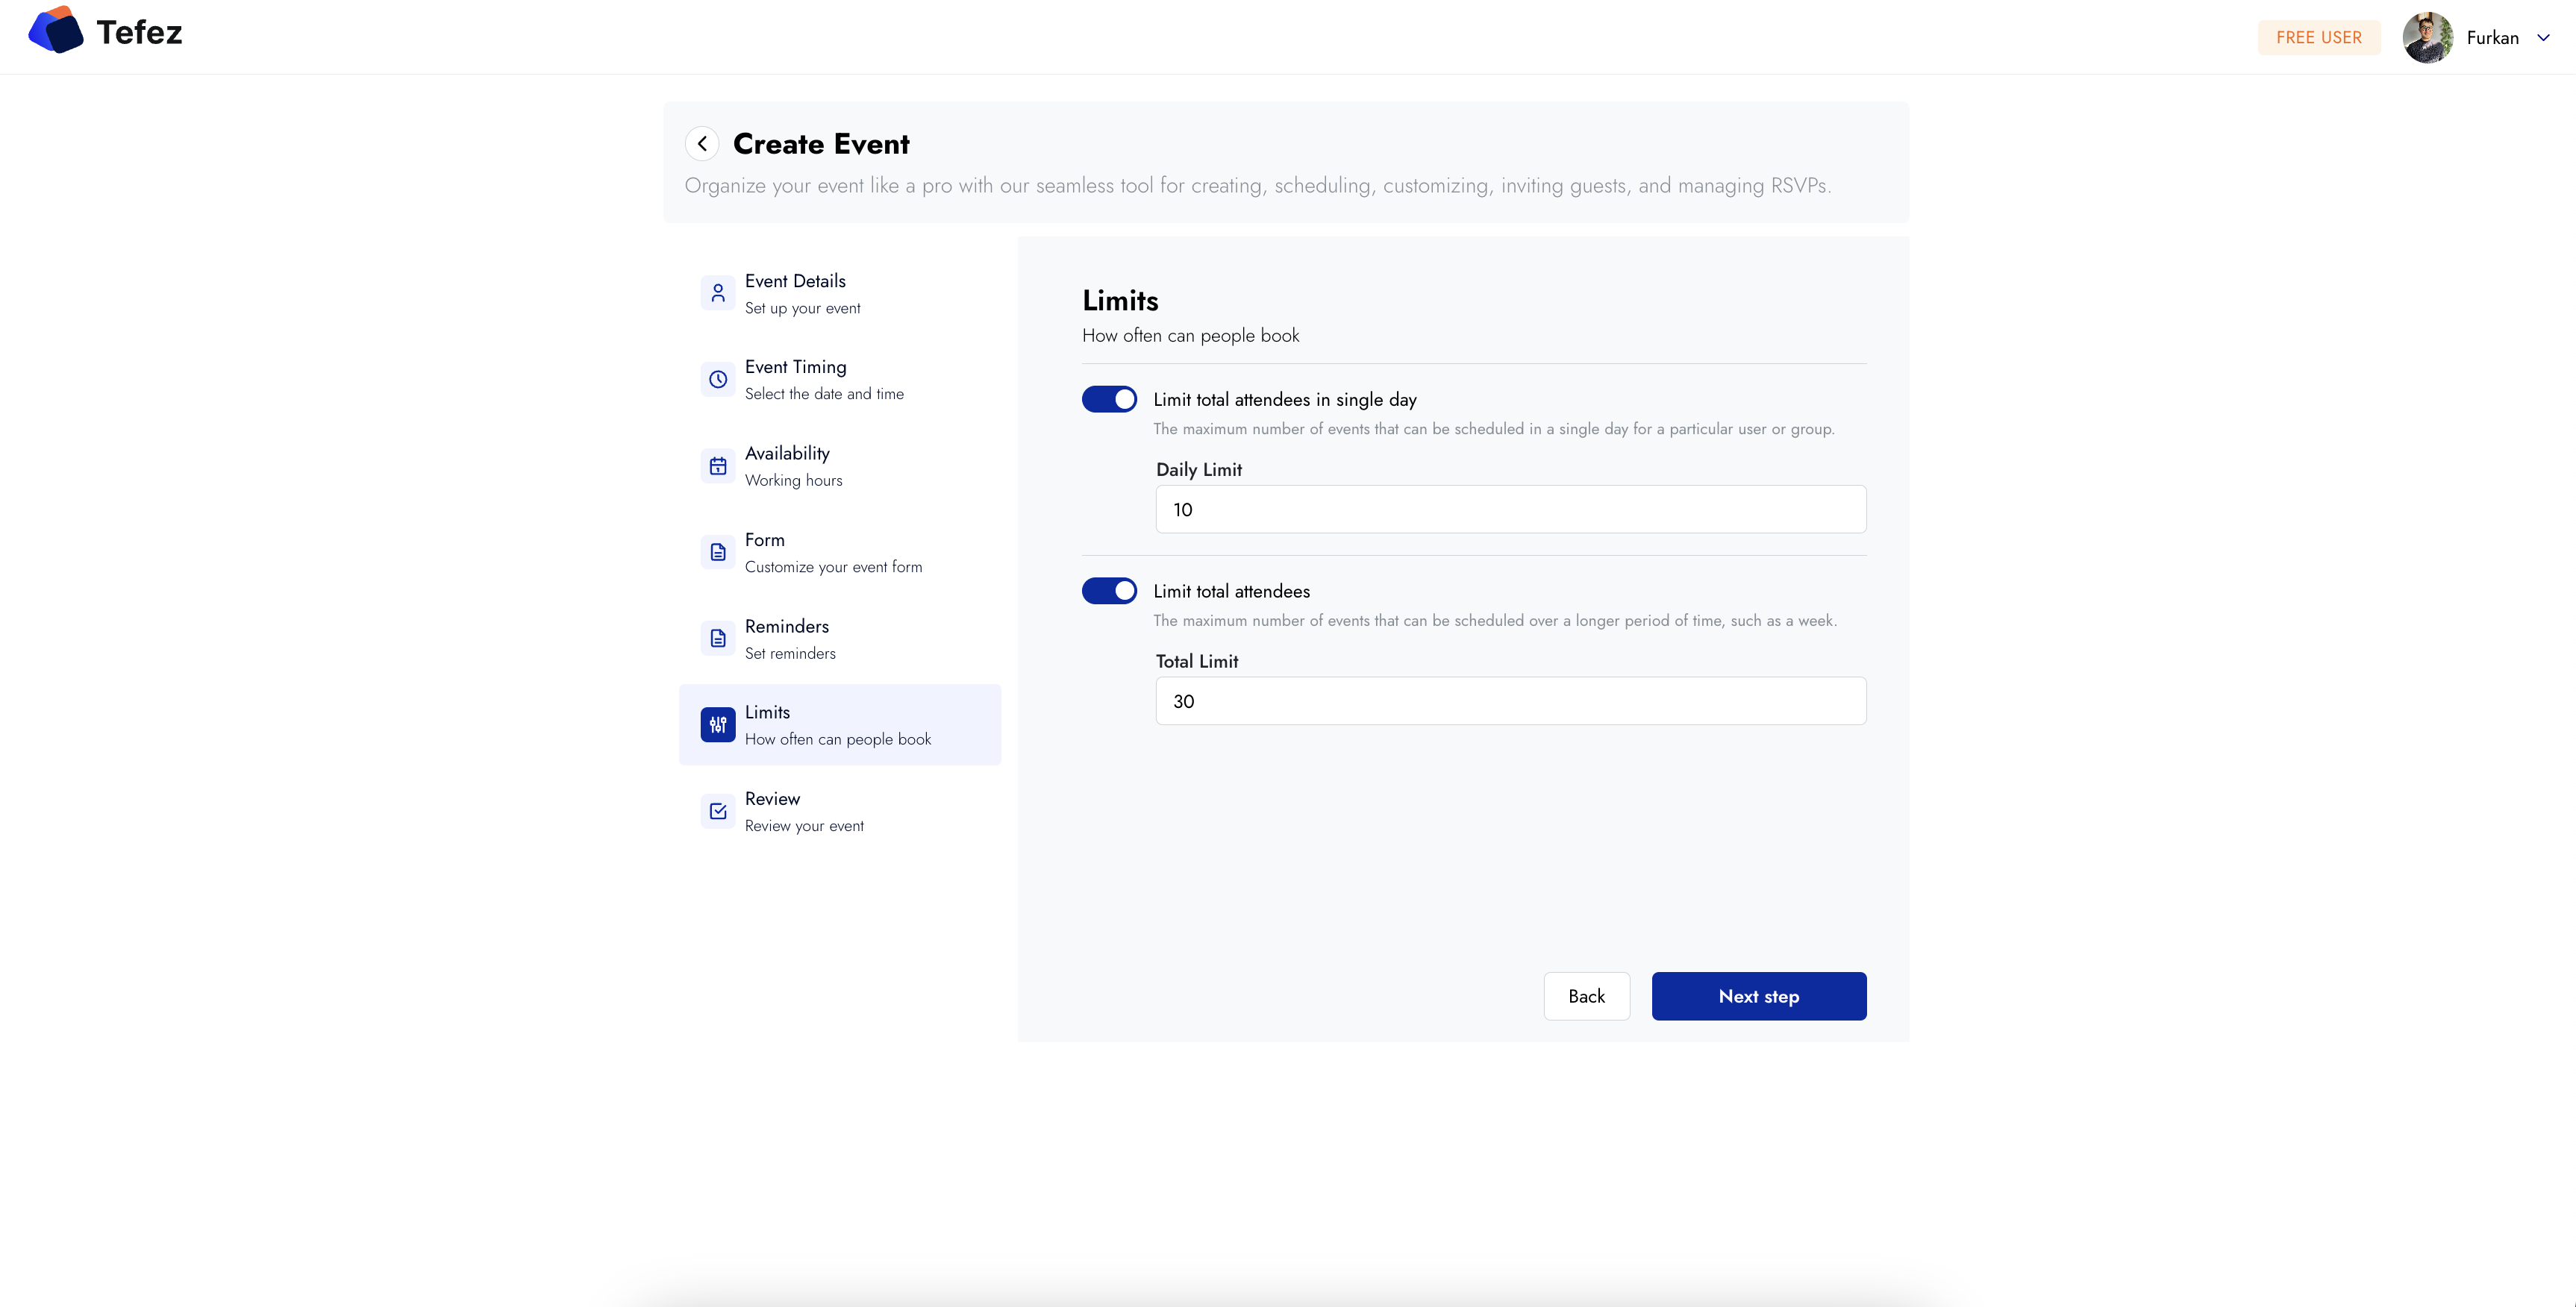
Use the available controls to keep bookings within a manageable rhythm. Leave enough room around appointments for preparation and follow-up.
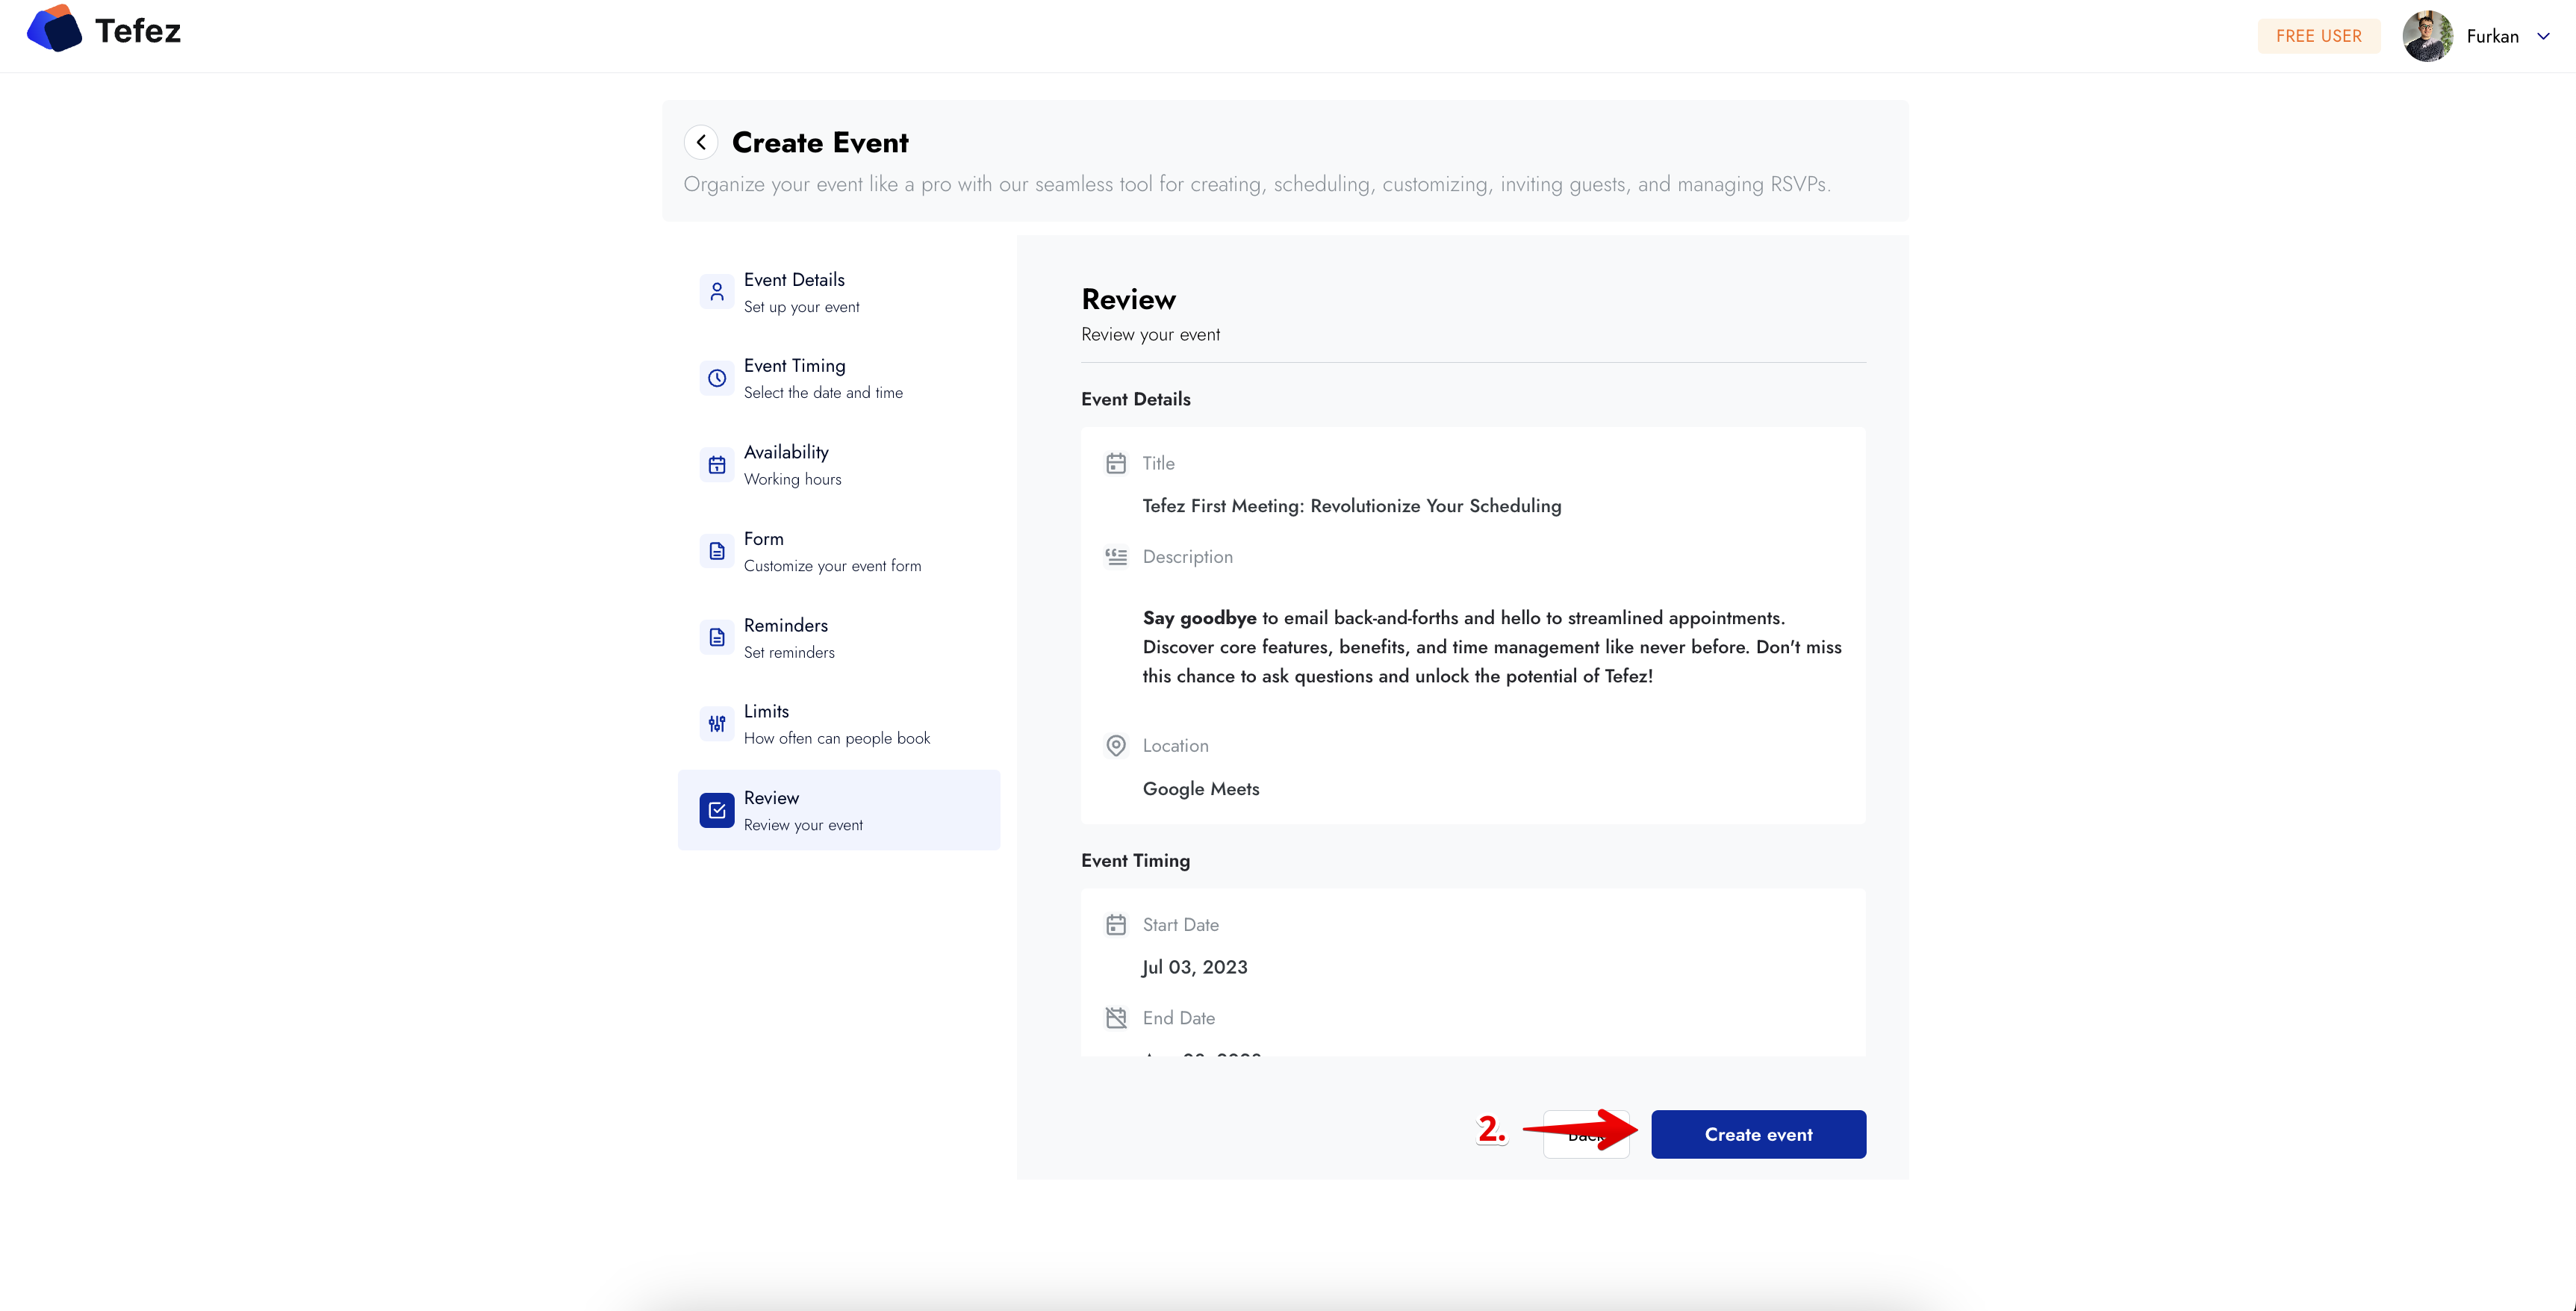
Read the summary as an invitee would. Confirm the duration, location, form, reminders, availability, and limits before creating the event.
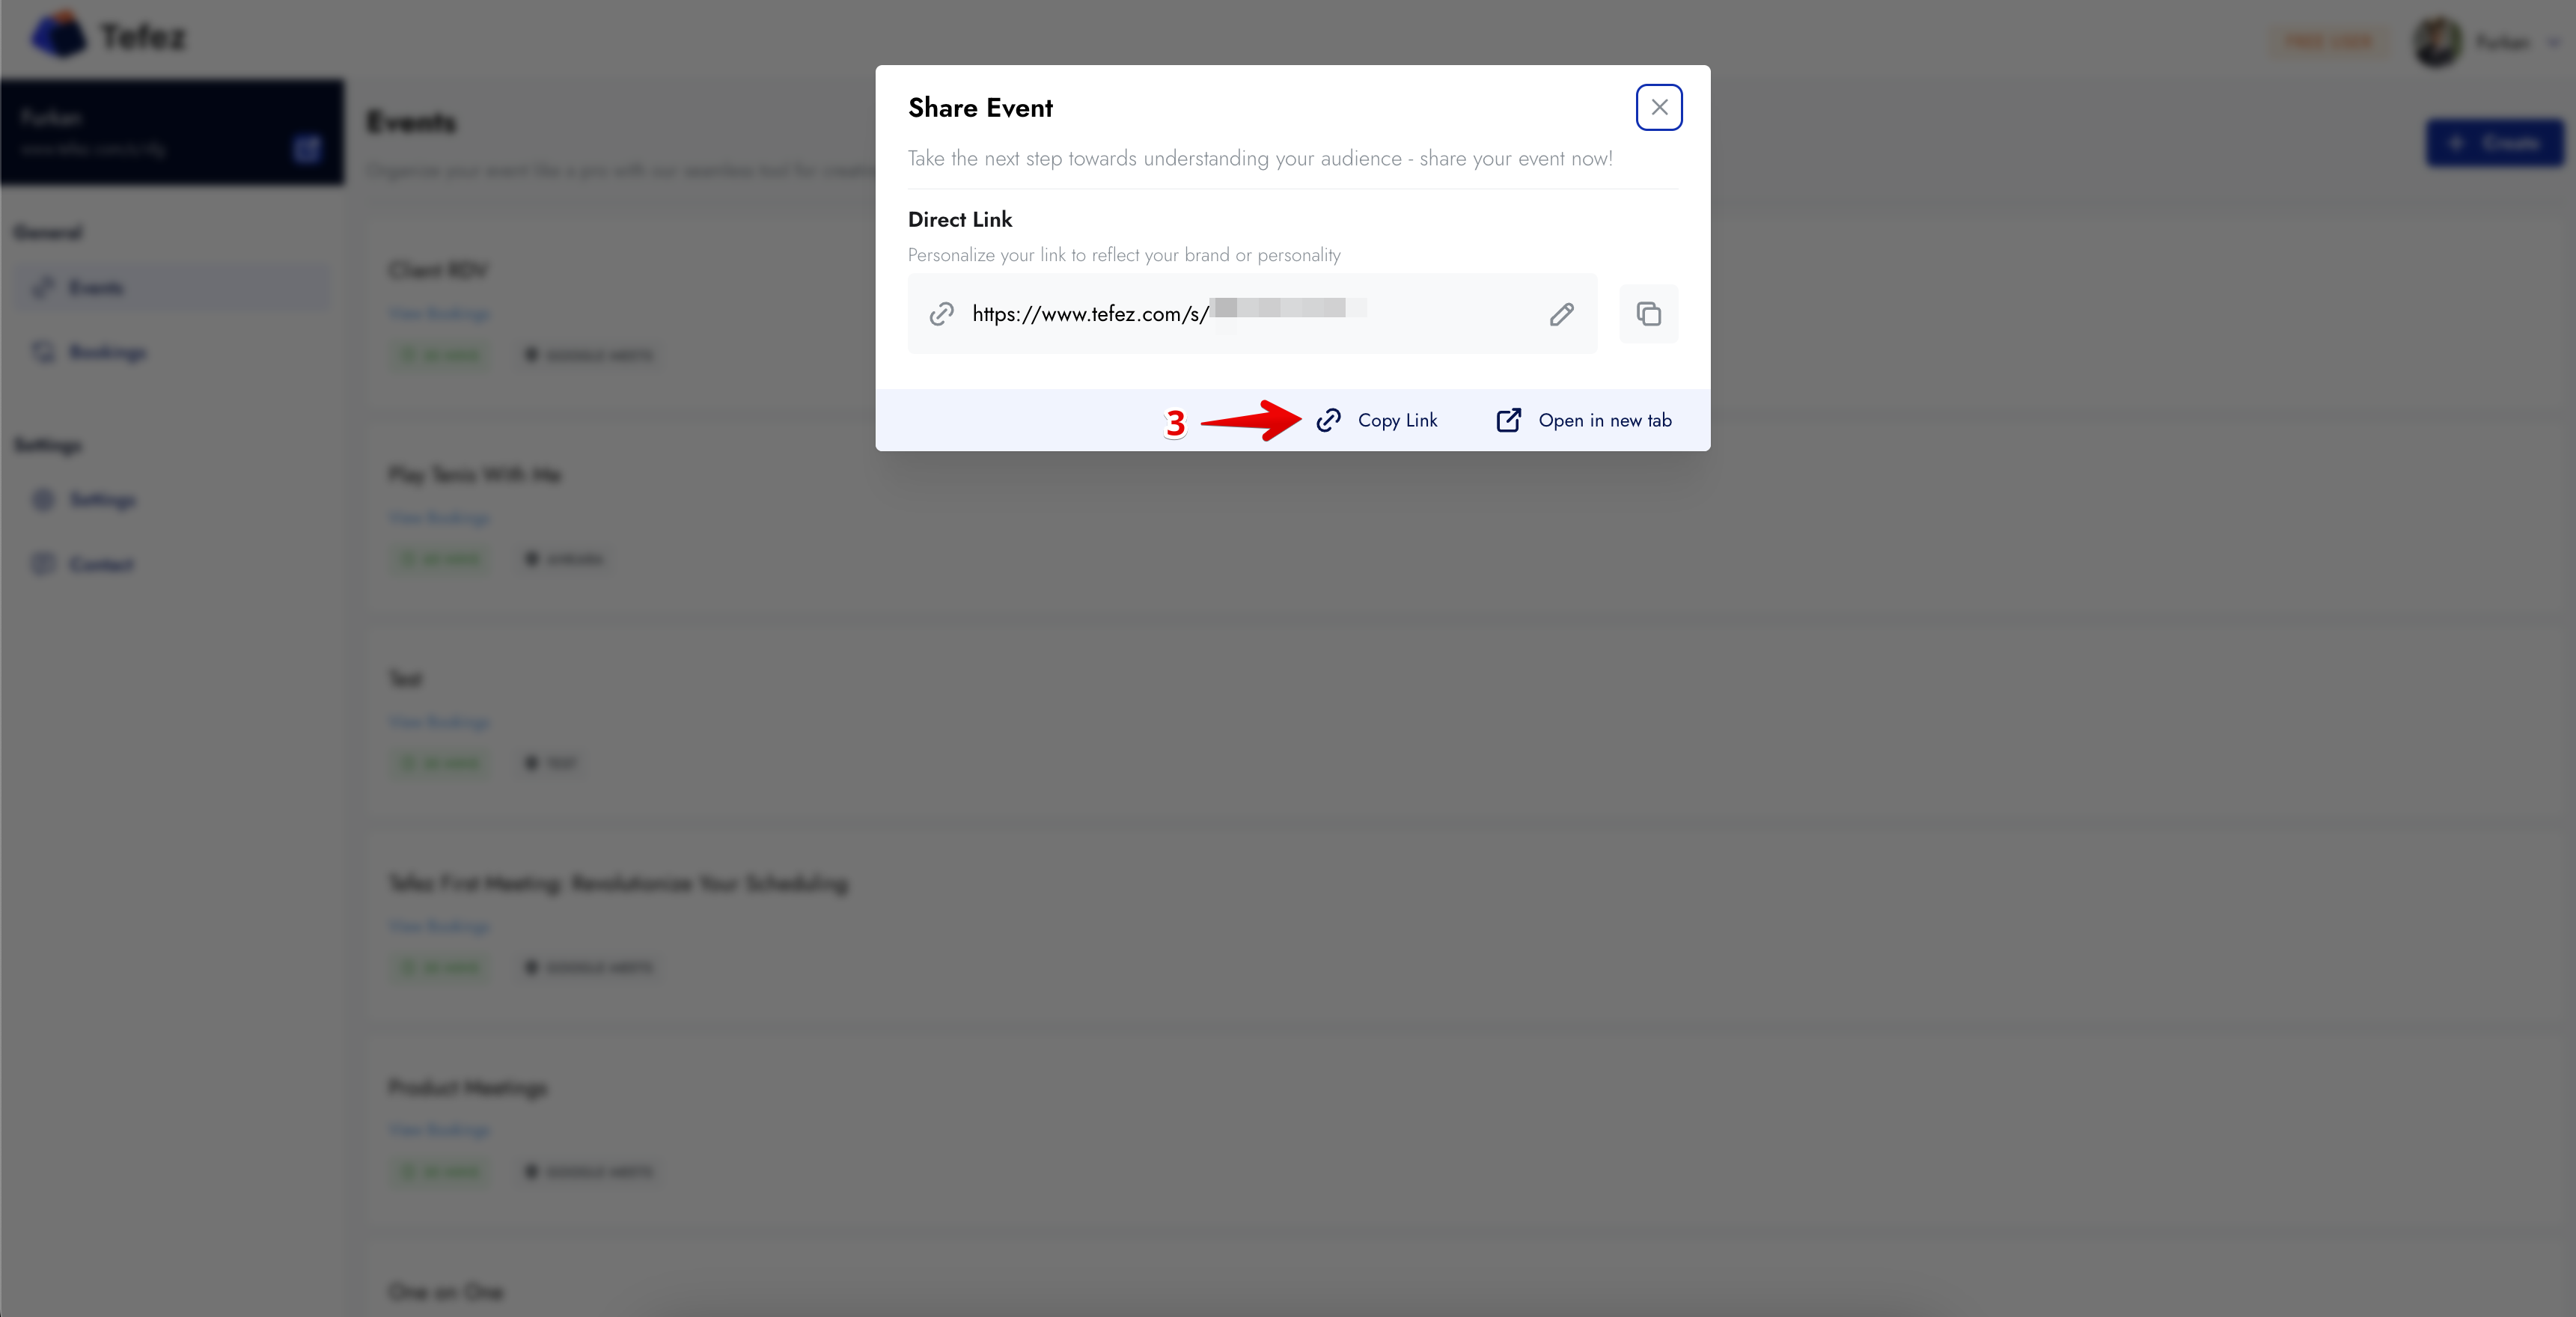
Open the public page, check the timezone and available slots, and complete a test booking before sending the link to clients.
Final check
Free during early access